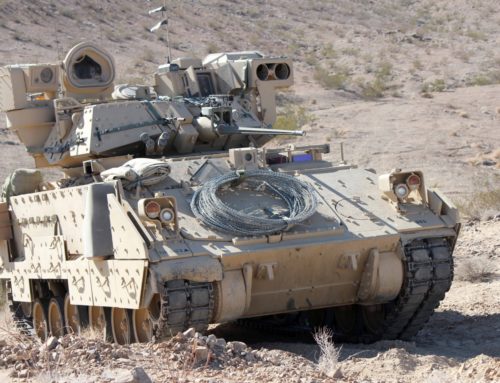
The SA- 9 is a highly mobile, short range infrared guided SAM system that covers the tactical – low altitude band of soviet air defense, and is used alongside SPAA other SHORAD systems to protect ground forces from low flying attack aircraft and helicopters. The system consists of a BRDM-2 amphibious vehicle, mounting two pairs of ready-to-fire 9M31 missiles.
 1")
the SA – 9 in all its glory
A Brief History of the SA – 9/9K31
The 9K31 system was developed alongside the well know soviet era MANPADS 9K32M – Strela 2 NATO designation SA – 7 “Grail”. Because of the compact and lightweight nature of the Strela 2 the development goal for the 9K31 system was changed from a lightweight man portable SAM to a heavier battalion defense system to work alongside the ZSU-23-4 SPAAG system.
 2")
As a result of the relaxed weight restrictions and the change in role the design team made a much heavier missile and could make less design compromises compared to the lighter 9K32M Strela 2, which due to its smaller size had to make compromises to achieve acceptable kinematic performance. The most noticable difference between the two missiles is the much large diameter and blunt seeker head that occupies the full diameter of the missile body.
Additionally the Strela 1 (the SA – 9’s missile) has a larger warhead, a proximity fuze and more effective control surface configuration to increase maneuverability at the cost of increased drag. The net result was a missile four times the weight of Strela-2, with only slightly longer reach but otherwise of much better performance.
The System
The Missile
In BMS the missile has a maximum range of 3 – 4 nautical miles and no minimum range, the maximum speed of the missile post burn phase is mach 1.8 and the missile has a maximum altitude of 14,000 feet and a minimum altitude of 300 feet. The firing sequence of the missile is very similar to other equivalent systems such as SA – 7. The operator of the system picks up a hostile aircraft (for descriptions’ sake we will presume its a low flying F16). After picking up the F16 the operator will order the vehicle to a stop and open the missile tube doors and expose the seeker head to the target, after this he will aim the weapon at the F16 and uncage the seeker. After he has achieved a good lock/tone on the F16 he will depress the firing button and the missiles ejection booster also known as the “throw-out motor” will propel the 9M31 out of the tube. The missile body trails a wire which is linked to fire the main booster charge after a certain distance to avoid damaging personnel or vehicles in the immediate vicinity of the SA – 9.
 3")
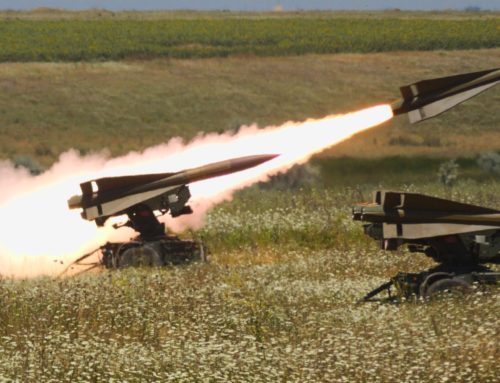
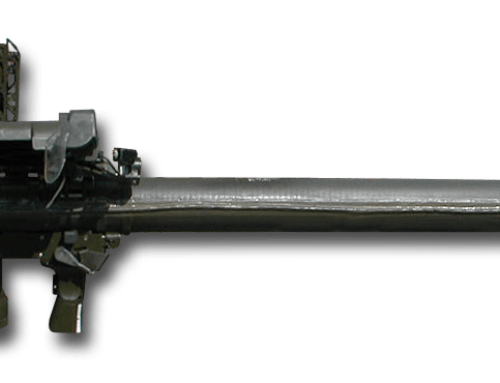
The 9M31 missile
After the wire has run out the throw-out motor is jettisoned and the missile is then propelled by a single stage rocket booster to a speed of mach 1.8, while this is happening the seeker will actuate the steering fins to guide itself to the target on a lead intercept course. The seeker head is an unusual construction, using uncooled lead sulphide (PbS) detector elements, but with an unusual tracking mechanism. Uncooled PbS elements are commonly used to detect radiation at only short wavelengths of less than 2 micrometers, this is a very useful features as only very hot sources emit a wavelength this small – just like the F16’s engine our missile is currently tracking – however using uncooled PbS limits the missile to rear hemisphere engagements only. It is worth noting that the SA – 9 can engage prop and helicopter aircraft from any aspect as IR radiation is visible all around those airframes.
The missile seeker head is designed for both direct hits and proximity/near miss detonation, the missile has a proximity fuze and magnetic/contact fuzes. For the fellow SAM nerds out there, the SA – 9 features an unusually advanced safety system for it’s time, if the missile missed the target or a target was not found by the seeker between 13 – 15 seconds the missiles warhead would deactivate itself in order to prevent unexpected casualties or friendly fire from aircraft straying into the seekers path. Now we must conclude our engagement against the F16, the missile reach the target and because the F-16 is not equipped with an MWS capable of detecting the IR/UV bloom of a missile launch the missile will directly impact the tail of the F16 separating the control surfaces and causing an ejection.
How to Defeat SA – 9/9K31
Visually/Non Visually
The process of defeating the 9M31 in BMS is exactly the same as the process used to defeat SA – 7, however it is worth noting that the SA – 9 has a longer range therefore you must always remain vigilant. If you are unlucky enough to have an SA – 9 launch at you you have a limited time to act due to the high speed short range nature of the SAM. Luckily the 9M31 has limited IRCCM capabilities and is very vulnerable to flares and background IR radiation (from the sun/fires…). Upon the launch of an 9M31 you will observe a small ‘cigarette’ like flame coming towards you and a medium smoke trail. Immediately beam the missile and dispense flares and turn away regularly dispensing flares, the missile is vulnerable to 8-9G break turns but generally these turns should be a last resort. After you have decoyed/defeated the missile exit the threat envelope of the SA – 9.
 4")
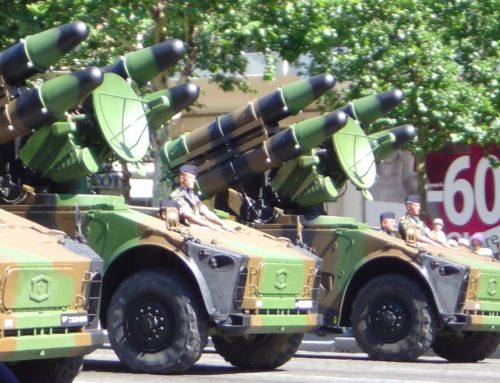
2 SA – 9 attached to a ZSU-23-4, escorting a convoy
How To Destroy An SA – 9
The SA – 9 is based upon a lightly armoured IFV chassis the BDRM 2. Because of this the SA – 9 is a very vulnerable (you could say squishy) and thusly can be destroyed with any conceivable AG weapon. I recommend using the AGM 65D/H or cluster bomb units dropped in CCRP from above 14,000 feet.
Tactical Use of SA – 9 in BMS
The SA – 9 is used as a battalion asset in BMS – much like how it was used in reality – and is usually attached to HQ and tank battalions.
A Quick Reference Guide
- Range Max – 4nm
- Range Min – N/A
- Alt Max – 14,000’
- Alt Min – 300’
- How to Avoid – 8/9G break turn, Flares